The University’s chosen platform for listing events online is Eventbrite. The platform is integrated with our website and allows us to brand event listings appropriately. If your area of the University is using Eventbrite to publicise events please follow the guidelines here so that all University events are presented consistently.
Request access to Eventbrite
To gain access to the University’s Eventbrite account you will need to request an account from the Marketing team. Please email marketing@londonmet.ac.uk to set up your account.
Creating an event
When you create an event for the first time you can refer to this short video created by Eventbrite which will take you through the process, step-by-step.
Still need some help? Check out our step-by-step guides to creating an event on Eventbrite
Creating a profile is quick and easy, but Eventbrite has created a short video on carousel below called "Organiser Profile and Organisation Settings" which talks you through the process.
When creating your event you will need to select an “organiser” as the host. For example, if the Careers and Employability team are hosting an event they would have a profile which groups all of their events together. When you click on the drop down menu on the event options you’ll see a list of organiser profiles to choose from. Please select the department or profile which is most relevant to the event you’re organising. If you don’t see one that is relevant to your event, you can make a new one for this event and any future events.
Creating an "Organiser Profile" on Eventbrite is a good way to give any attendees more information about you as an organiser, whether it is a group, school or research centre. If you are running a series of events or planning to run regular events, then creating this profile is a good option. However, we do already have quite a few Organiser Profiles which you could use so it's always worthwhile checking the list of profiles before creating a new one.
Quick guide to creating an organiser profile
Click on your email address in the top right corner and then click “Organisation Settings”.
Stay in the “Basic Info” tab and scroll down until you can see the Organiser Profiles.
Click the “Add Organiser Profile” button at the top of this list and this will take you to a new page with fields to fill in.
Here you can select an image which needs to be high resolution and square (we recommend using the social media icon in our brand guidelines). You can download this from our brand assets folder – please email marketing@londonmet.ac.uk for access to this. If you choose to use a different image we recommend cropping this beforehand to 700x700px as it could save you time.
Once you have selected your image, fill in the relevant information in the fields. You can add a link to a specific page on our website or feel free to link to the main London Met page http://londonmet.ac.uk, please make sure any links you include have “http://” before them so Eventbrite recognises it as an external link.
The “Organiser Bio” is the information that will appear on your profile, so include relevant information which attendees might want to know when looking to sign up to events:
- information about your group, centre, school or department
- information on the events you run and frequency
- anything else that might be interesting or important for attendees to know
The “Description for Events Pages” is a small bit of information that will appear on your individual events page which is linked to your organiser profile. This information should be short and provide a quick summary of your profile.
If you have specific social media accounts for your profile, you can link to them before saving. If you don’t please feel free to link to the main London Met Facebook and Twitter profiles (apart from the instagram page as this requires a log in).
Facebook ID – londonmetuni
Twitter – @LondonMetUni
This will pull the social media feeds through to your profile. You can also leave this option blank if you wish.
Note – there’s an option to enable email opt in at the very end of creating your profile, it needs to be disabled as attendee data shouldn't be stored anywhere. If an event requires a follow-up email, this should be created by the Conversion team using our CRM system. This is automatically disabled until you press the button to turn it on, so this doesn’t need to be touched.
Once you have filled everything in, please save your profile. You will then return to the “Basic Info” tab where you can find your new profile. To view what your profile looks like, click on the ellipsis next to your profile and click “view”. You can also edit and delete your profile through this option.
Eventbrite has created a short video which shows you how to set up an order form. This can be found in the carousel below and is called "Order Options".
When setting up your order form for events at London Met, we strongly advise that you collect information from each attendee so that we know all of the details from each individual person attending the event.
By default, Eventbrite will capture the attendee's email address, first name, surname, and if your event has paid tickets, it will also ask for their payment information. If you need to gather other information from your attendees you will need to press “Customise Checkout Questions”.
This will present a list of questions you can then select as either “include” or “require”. Include means the question will be asked but will be optional, and require will be a mandatory field.
The remaining options at the bottom of this page can be left as they are unless you want to give your registration page a new title, and a personalised description for your attendees. We would recommend you leave all other fields as they are.
Order confirmations
Once your guests have filled in the registration form you can set up an order confirmation which can appear on their screen and/or be sent to their email address.
It’s best practice to include an order confirmation which is sent to their email address. The email text can be very basic and should cover the following:
- thank them for booking a place at your event
- provide them with contact details should they have any questions about the event
- any further information they need prior to the event
Remember to update the “reply to” email address to the one you are using to manage the event. This may be your personal email address or one for your department. If an attendee replies to your order confirmation email, this is where the response will be sent to.
Eventbrite gives guidance on ticket types in their video called "Create Your Event" which can be seen above. Fast-forward the video to 2:20 to hear specific advice on ticket types.
After you have added your description, you’ll need to create tickets for your event. You will have the option to add free tickets (which is the most popular ticket type), paid tickets, or donation tickets.
Once you’ve selected the ticket type, add your ticket name. If you are hosting an event that is public, you may want to add ticket types depending on your types of attendees. For example, you may want to create three ticket types; one for students, one for staff and one for the general public.
You will then be prompted to add the quantity available, and select the sales start date and time as well as the sales end date and time.
Within the advanced settings tab you can add a description for your ticket type if you think it needs explaining, change the visibility of your ticket type, and set the number of tickets available per order.
Setting up an events schedule with multiple dates
If you are running one event over multiple different dates, you don’t need to manually create a new ticket for each day, there’s an option for Eventbrite to do this for you which could save you a lot of time.
When creating your event rather than selecting the “single event” option, select the “recurring event” option and click “save”, this will then take you to a calendar where you can select start and end dates for your event and pick whether the event will be recurring daily, weekly or monthly. You can also click on singular days within the calendar afterwards to delete or edit individual days if there are a few events that differ in timings or are not on that day so you can customise your events schedule.
You'll then set up tickets as normal but it will automatically create individual tickets for each different event which you'll be able to see when you preview your event.
All users of the University Eventbrite account should use a standard template in brand colours.
Event title: Give your event an appealing title, and avoid including the date in the title. If you do, the date is duplicated when it pulls through to the website and other platforms.
Event copy/description: It needs to be clear whether your event is open to the public, open to students only, or whether alumni are welcome. If the event is open to an external audience, explain in your copy how they will gain entry to the building. Avoid unexplained acronyms and only refer to the University as London Metropolitan University or London Met (avoiding LMU, LondonMet or other variations on the name).
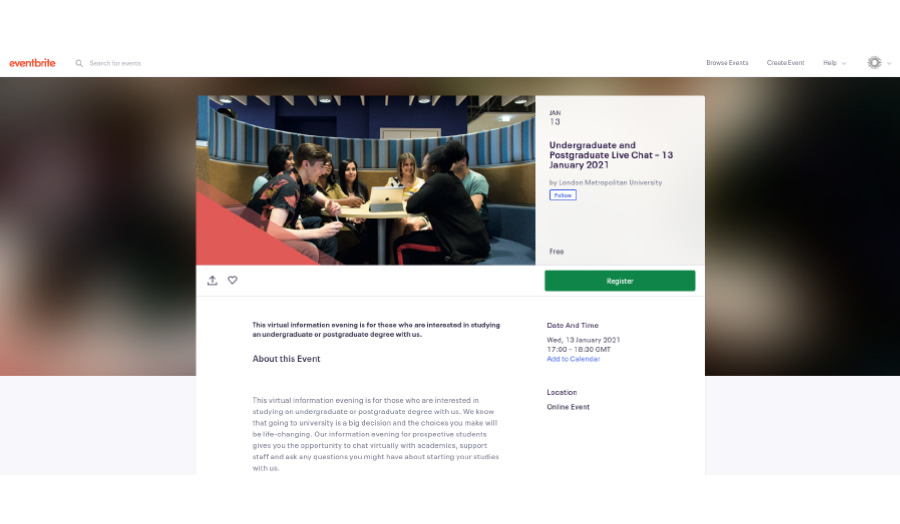
Main event image: Event listings look best when they use a photograph that reflects the event, for example, it could be an image of people enjoying a similar event; this should not include a logo. The marketing team provides some images that have already been cropped for Eventbrite which you can use (staff login required). If you'd like to use your own image, please make sure you have permission to use it. Please contact the Marketing team on marketing@londonmet.ac.uk if you require any further guidance. If you're unsure what image to use, or are struggling to find an image to depict your event, consider using an abstract shot of one of our University buildings – some are included in the images provided.
Please minimise the use of text on Eventbrite images – these images are used in a wide range of settings on the Eventbrite platform and often have overlays that could chop text off and make it unreadable. In addition, text on images can't be read by screen readers that are used by visually impaired people so should also be avoided for accessibility reasons. Get more advice on imagery, including image sizes, through Eventbrite.
Forthcoming events created in the University Eventbrite account can be pulled through to the University website as long as they are not set to private.
Users of the University’s Content Management System (T4) can read our guidelines on how to use the Eventbrite modules (staff login required). These use words in the copy for the event (or codes at the bottom) to list relevant events.
What you need to do in Eventbrite to make your event show on the London Met website
The website searches all Eventbrite listings (on the main London Met account) for certain codes. Each code links to a different part of the website. The most commonly used codes are as follows:
- Current students: XX050
- Staff: XX051
- Guildhall School of Business and Law: XX004
- School of Computing and Digital Media: XX017
- School of Human Sciences: XX003
- School of Social Sciences: XX002
- School of Social Professions: XX018
- The School of Art, Architecture and Design: XX005
To add a code to your event you will need to add some text to the end of your event description box. This should look like:
For internal reference only:
XX0050
If you need your event to pull through to any other areas of the website please get in touch with us at marketing@londonmet.ac.uk.
We've created a short video which shows you how to email your event attendees. This can be found in the carousel below and is called "How do I email my guests?".
Once you have published your event you will have the option to create emails to send to your attendees. This can be found by navigating to “Manage attendees” then selecting “Emails to attendees”.
This option is very handy for event reminders or any changes to events such as cancellations.
Eventbrite will automatically generate an event reminder email once you’ve published your event. This is automatically set to be sent two days before your event.
If you wish to remove this reminder email, select "Delete".
If you wish to amend this email, select "Edit".
Inside the email editor you can amend the name of the email which is visible by guests, the reply to email address which is where all replies will be forwarded to. We recommend updating this to the email address of the person or department who is managing this event, the subject line that will appear in the attendee’s email box, and the main body of text for the email.
If you want to see what your emails look like, you can run a test email by entering your own email address and selecting "Send Test".
To set up a new email to all guests, from the "Emails to Guests" page select “Create new attendee email”. Fill in the fields as required and select when you want the email to be sent.